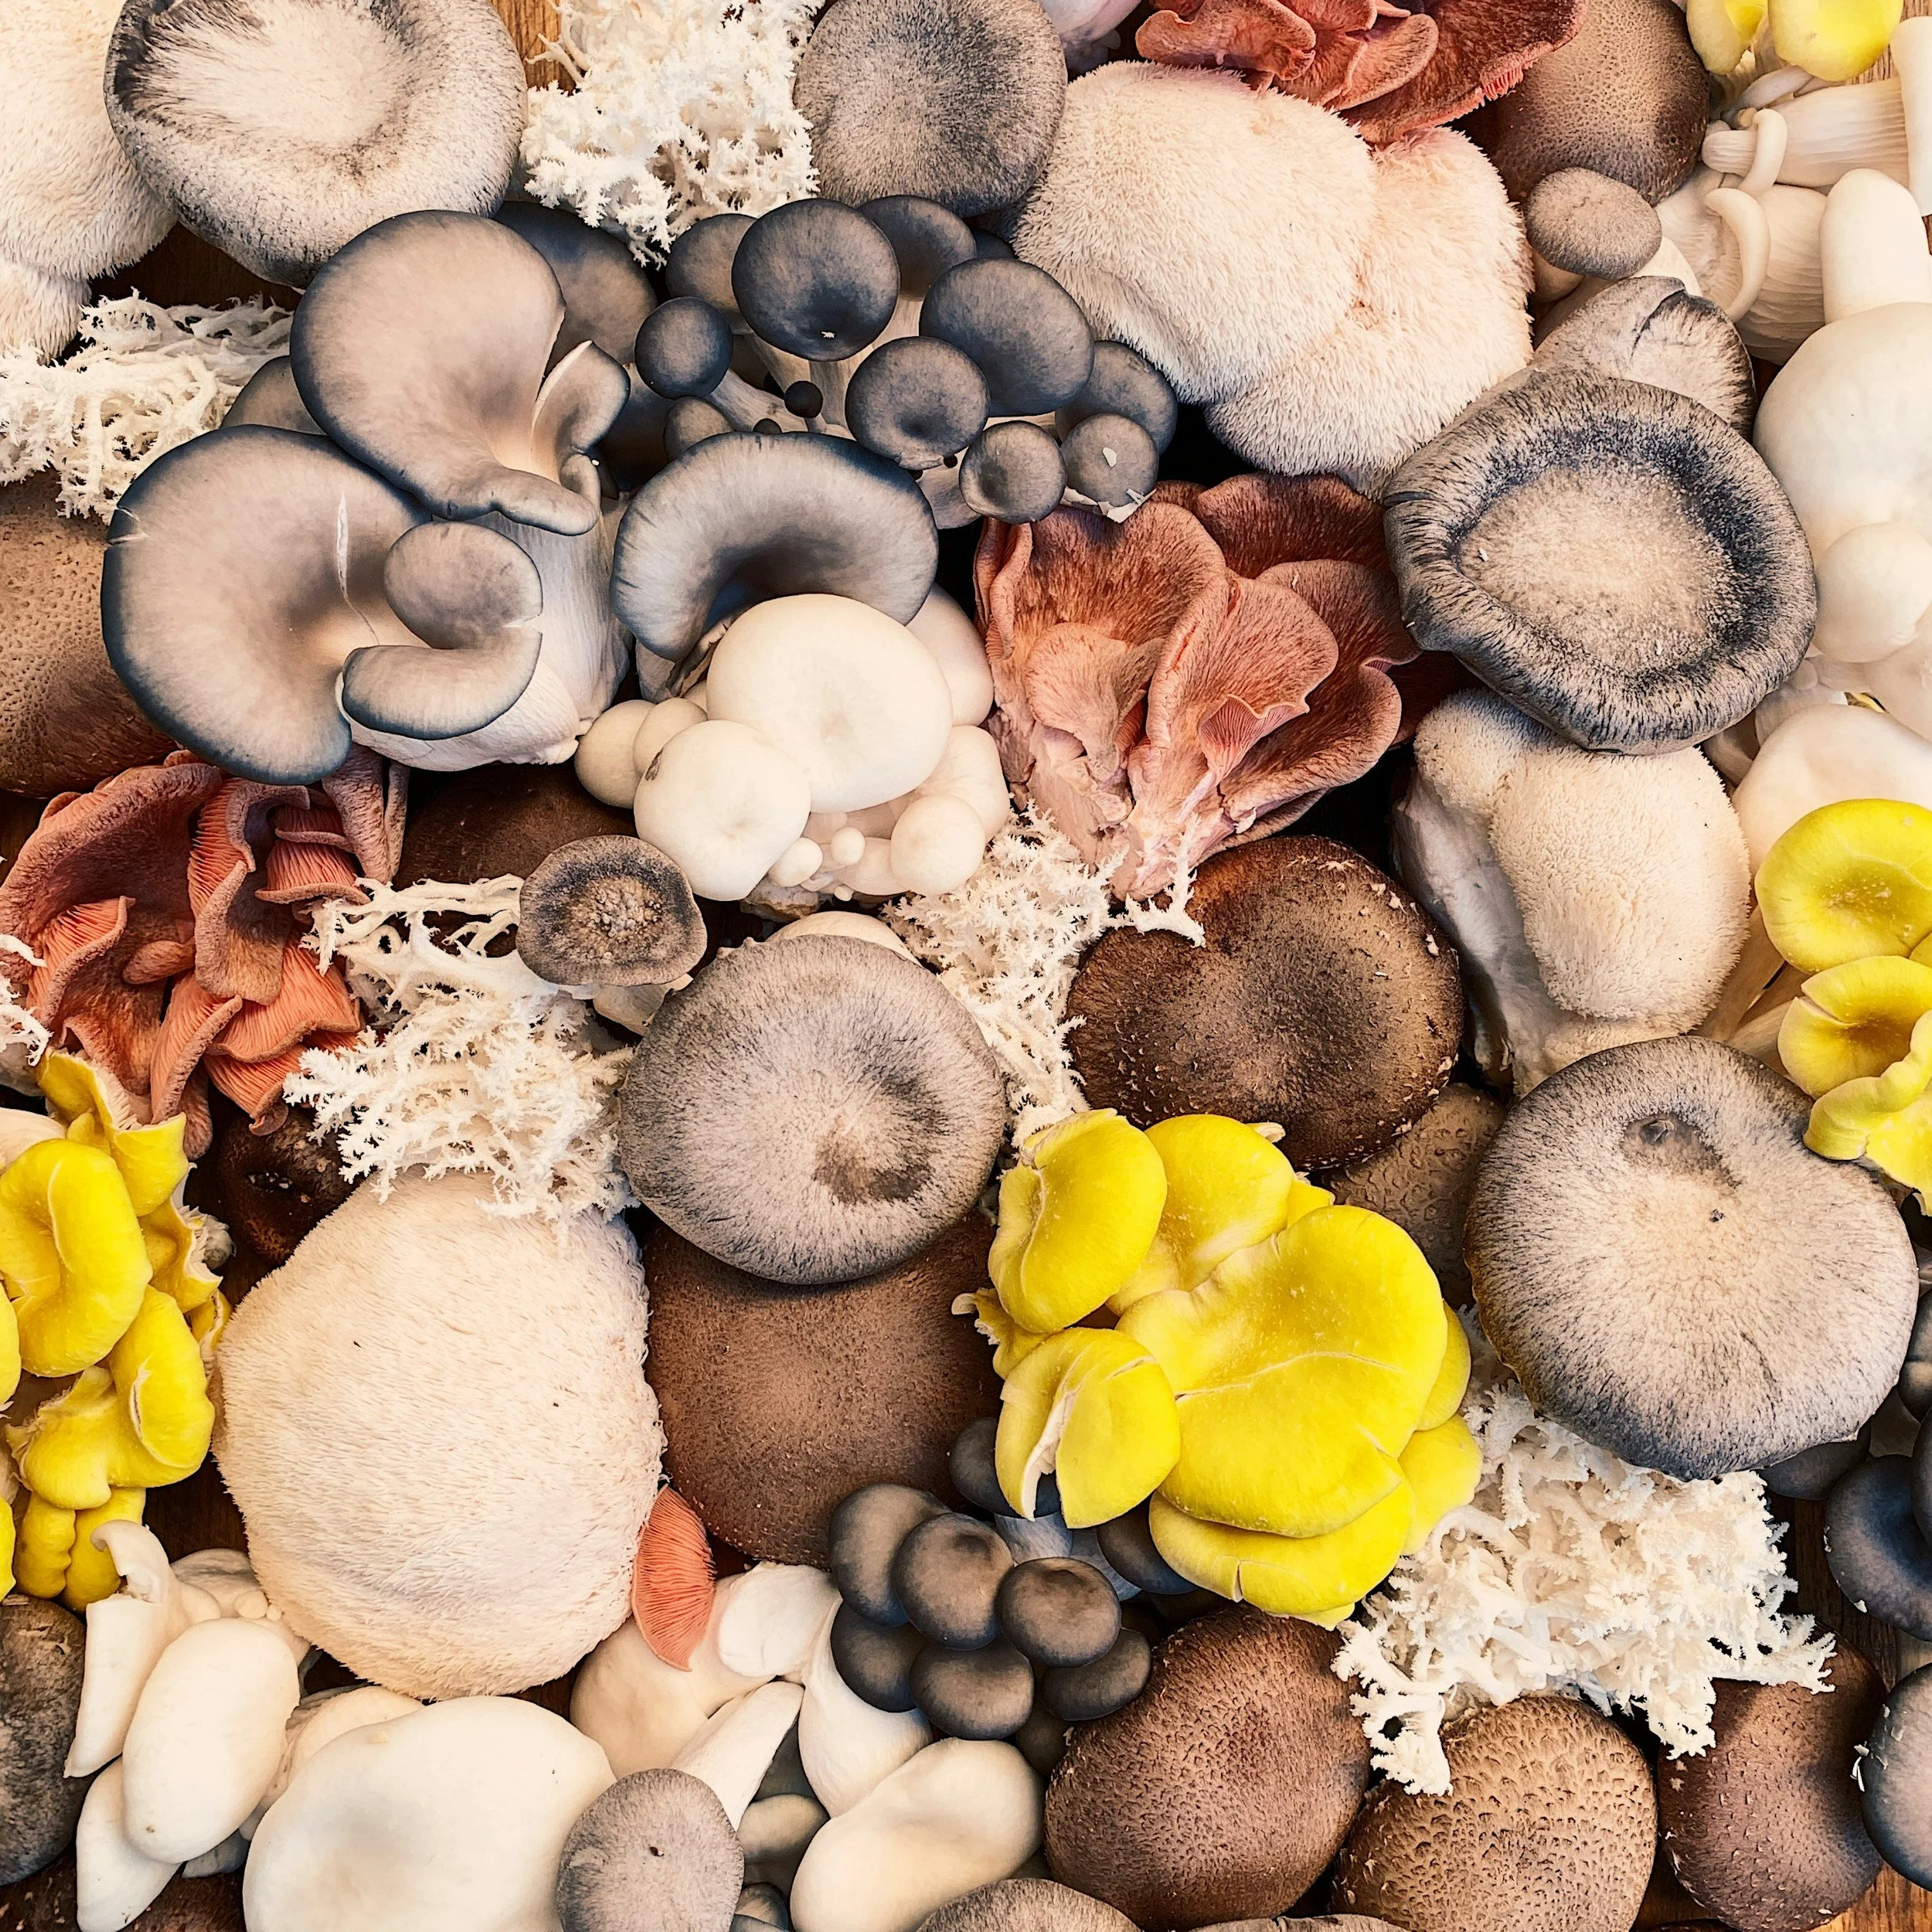
Outdoor Mushroom Growing In Your Garden
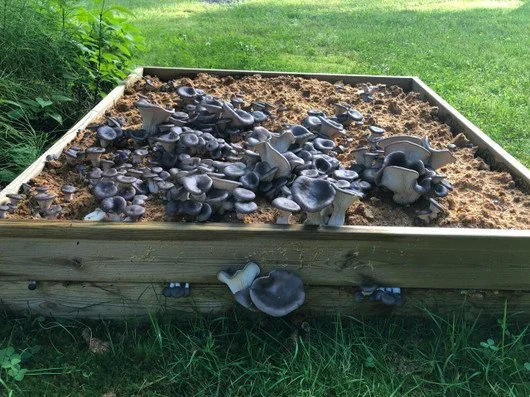
Blue Oyster mushrooms fruiting from an outdoor mushroom bed
How to Set Up an Outdoor Mushroom Grow Bed (Step‑by‑Step)
Growing mushrooms outdoors is one of the most rewarding and low‑maintenance ways to produce fresh gourmet or medicinal mushrooms year after year. With the right setup, an outdoor mushroom bed can fruit for several seasons, especially if you use robust species like Wine Cap, Oyster, or Shiitake on hardwood‑based substrates.
In this guide you’ll learn:
How to choose the right location and species
What substrate to use for an outdoor bed
How to inoculate with quality mushroom spawn from Artisan Mushrooms
How to maintain moisture and manage harvests
If you prefer, you can also buy liquid mushroom cultures and spawn from Artisan Mushrooms to start your own outdoor beds at home.
1. Choose the Best Mushroom Species for Outdoor Beds
Not all mushrooms are suited to outdoor beds. The most reliable species for in‑ground or mulch‑based beds are:
Chestnut (Pholiota adiposa) - Works great with woodchips and straw
Wine Cap – ideal for outdoor wood‑chip beds.
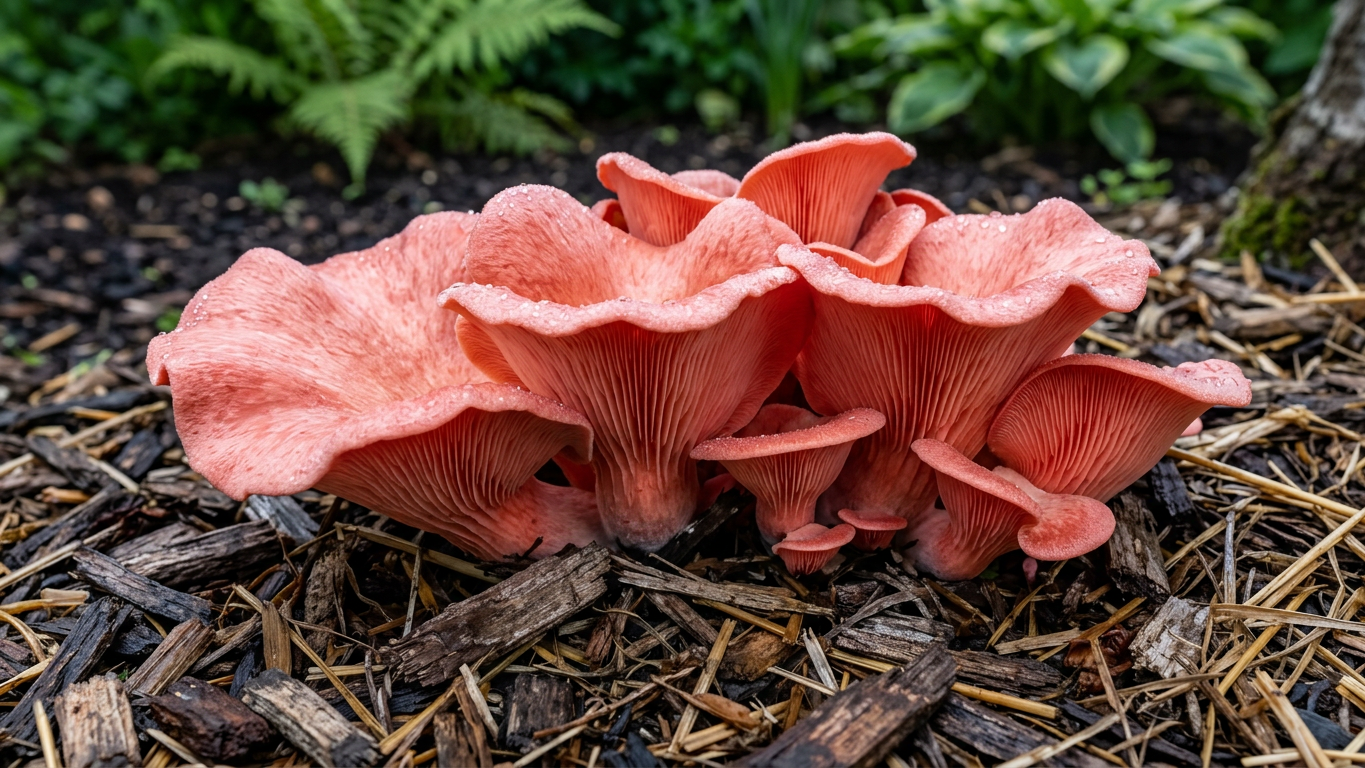
Oyster (Blue, Golden, Pearl, etc.) – excellent for mixed‑substrate beds.
Shiitake 3790 – great if you want to try wood‑loving strains outdoors.
On Artisan Mushrooms you can buy Wine Cap, Oyster, and Shiitake liquid cultures or spawn bags to start your outdoor beds, such as:
2. Pick the Right Location
Outdoor mushroom beds need:
Partial shade (under trees or near a fence), not full sun.
Easy access to water, since you’ll need to keep the bed consistently moist.
Good airflow but protected from strong winds.
Edges of forests, garden borders, or under shrubs are perfect spots.
3. Prepare the Substrate Mix
For outdoor beds, use a wood‑based substrate such as:
Hardwood chips
Chopped straw
A mix of both (about 40% straw, 60% chips) to retain moisture while still allowing air to pass through.
If you don’t want to source your own wood, you can buy hardwood‑based substrates and spawn from Artisan Mushrooms such as:
Hardwood Sawdust & Organic Wheat Bran 2kg – great for custom outdoor beds.
Coco/Vermiculite/Gypsum (CVG) Bulk Substrate – useful if you want to blend with wood chips for moisture retention.
Grain Spawn – Perfect for quick colonisation of your outdoor bed.
4. Build the Outdoor Mushroom Bed
Follow these steps to create a productive bed:
Clear the area
Remove weeds, grass, and heavy debris from the chosen spot.Add a base layer
Lay down a layer of cardboard to help suppress weeds and create a barrier between the substrate and native soil.Add your substrate
Spread about 5–10 cm of soaked wood chips or straw over the base.Inoculate with spawn
Crumble your mushroom spawn evenly over the substrate.
~1 kg of spawn is usually enough for about 1 square metre of bed.Layer up
Add another 5–10 cm of substrate on top, then crumble more spawn on top of that.
Repeat until your bed is 15–30 cm deep, depending on species and space.Finish with a protective layer
Top with a final layer of chips or straw to protect the mycelium and regulate moisture
If you want spawn or liquid cultures ready‑made for outdoor use, check out our spawn and culture packs
5. Keep the Bed Moist (But Not Soggy)
Mushrooms need constant moisture, especially during colonisation and fruiting.
Water the bed whenever the top layer feels dry.
Use a fine spray or drip irrigation to avoid compacting the substrate.
Mulch the top with extra straw or chips to reduce evaporation.
You can also use a simple garden hose and watering can to keep beds hydrated; no fancy gear is needed for small‑scale beds.
6. Let Your Mycelium Colonise
Colonisation time depends on species, temperature, and moisture, but generally:
Wine Cap and Oyster can fully colonise a bed in 4–8 weeks under good conditions.
Cooler temperatures will slow down growth, while warm, damp weather speeds it up.
During this time:
Block direct, heavy rain from compacting the bed.
Avoid walking on the bed to protect the mycelium.
If you’d like to speed up colonisation, you can start with freshly made grain spawn from Artisan Mushrooms, which is designed to be highly active and ready‑to‑use.
7. Trigger and Manage Fruiting
Once your bed is fully white with mycelium, you can encourage fruiting by:
Increasing moisture slightly above normal.
Flattening the surface to give mushrooms a clear space to form.
For some species, a change in temperature or light can help.
Harvest when caps are just opening but before the gills darken. Cut at the base with a clean knife to avoid disturbing the bed.
8. Maintain Your Bed for Multiple Seasons
Well‑managed outdoor mushroom beds can give you harvests for 2–4 years or more.
To prolong life:
Top up with fresh wood chips or straw every 6–12 months.
Keep the bed moist through dry spells and lightly weed around the edges.
Rotate with different mushroom species to keep the ecosystem healthy.
You can experiment with different medicinal or gourmet cultures from Artisan Mushrooms, such as Lion’s Mane, Turkey Tail, or Reishi, once you’re comfortable with the basics.