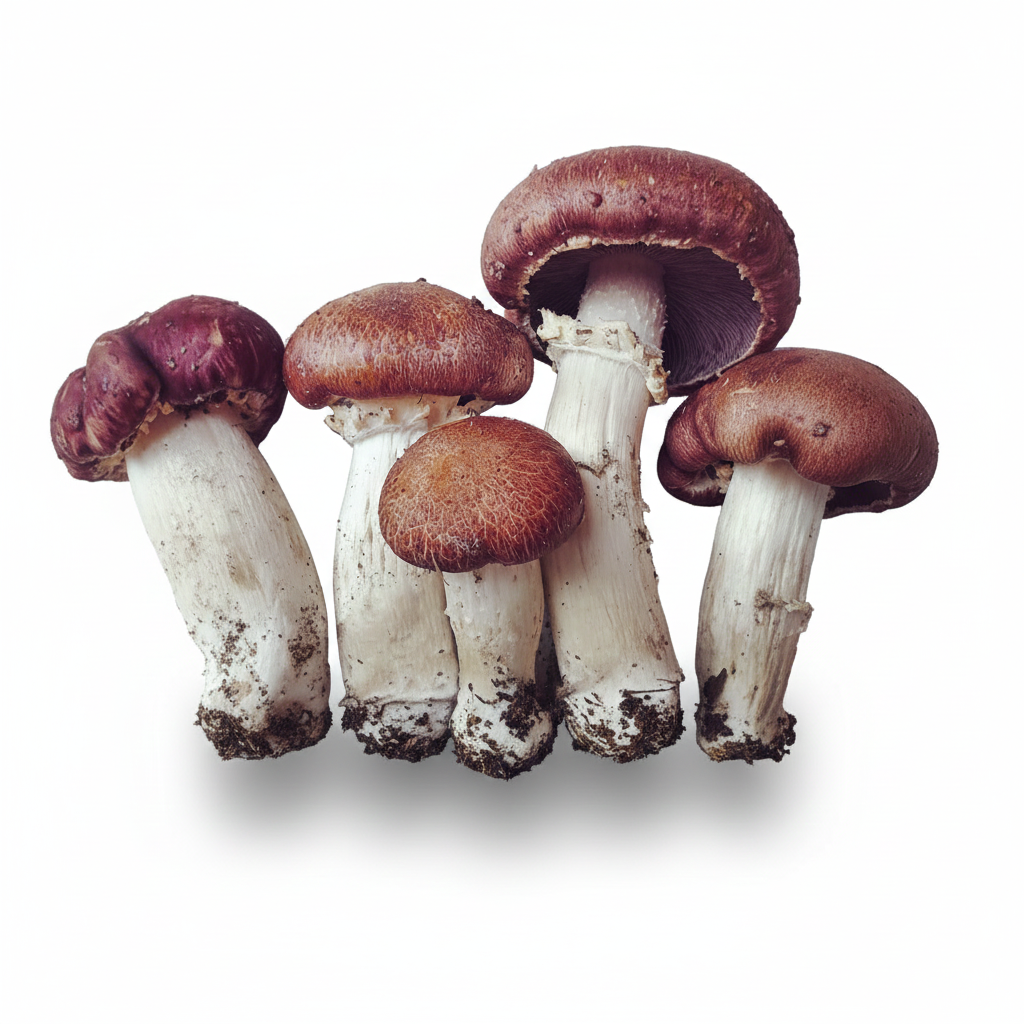
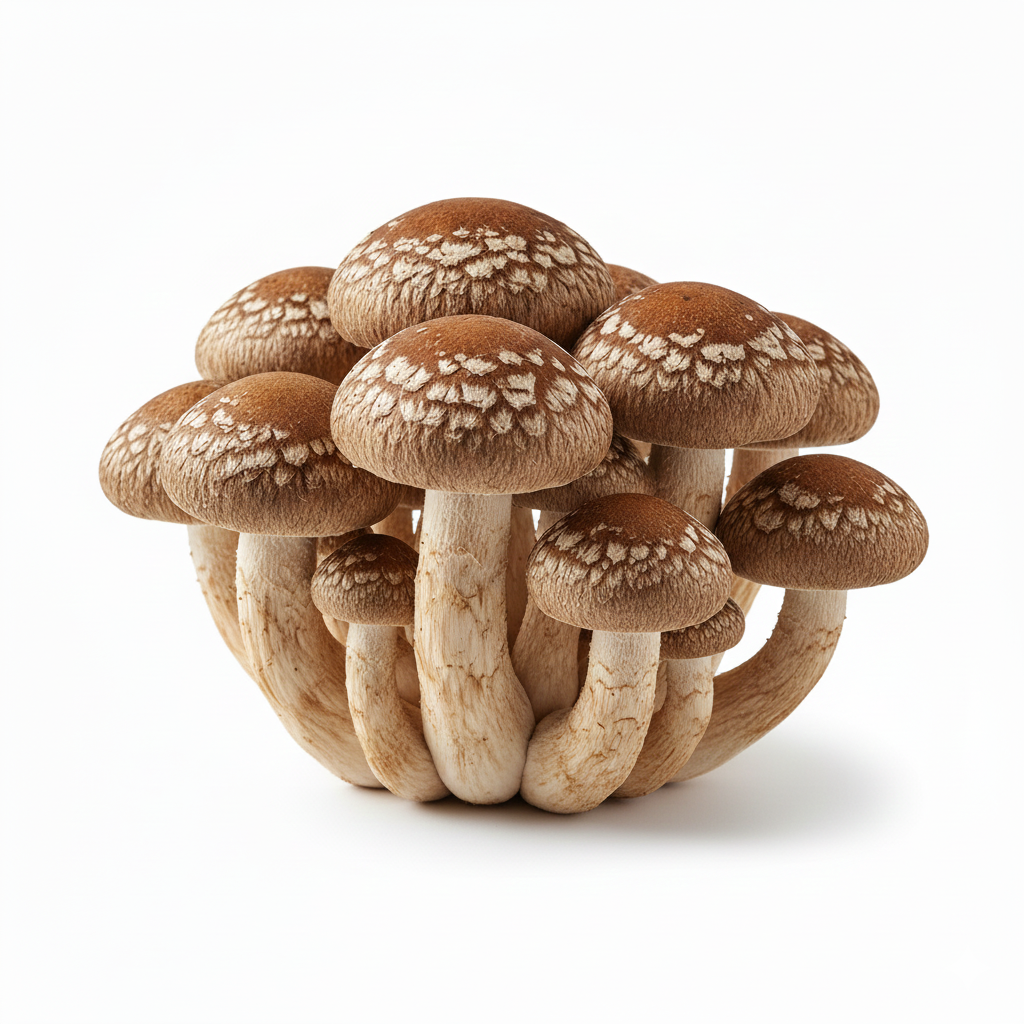
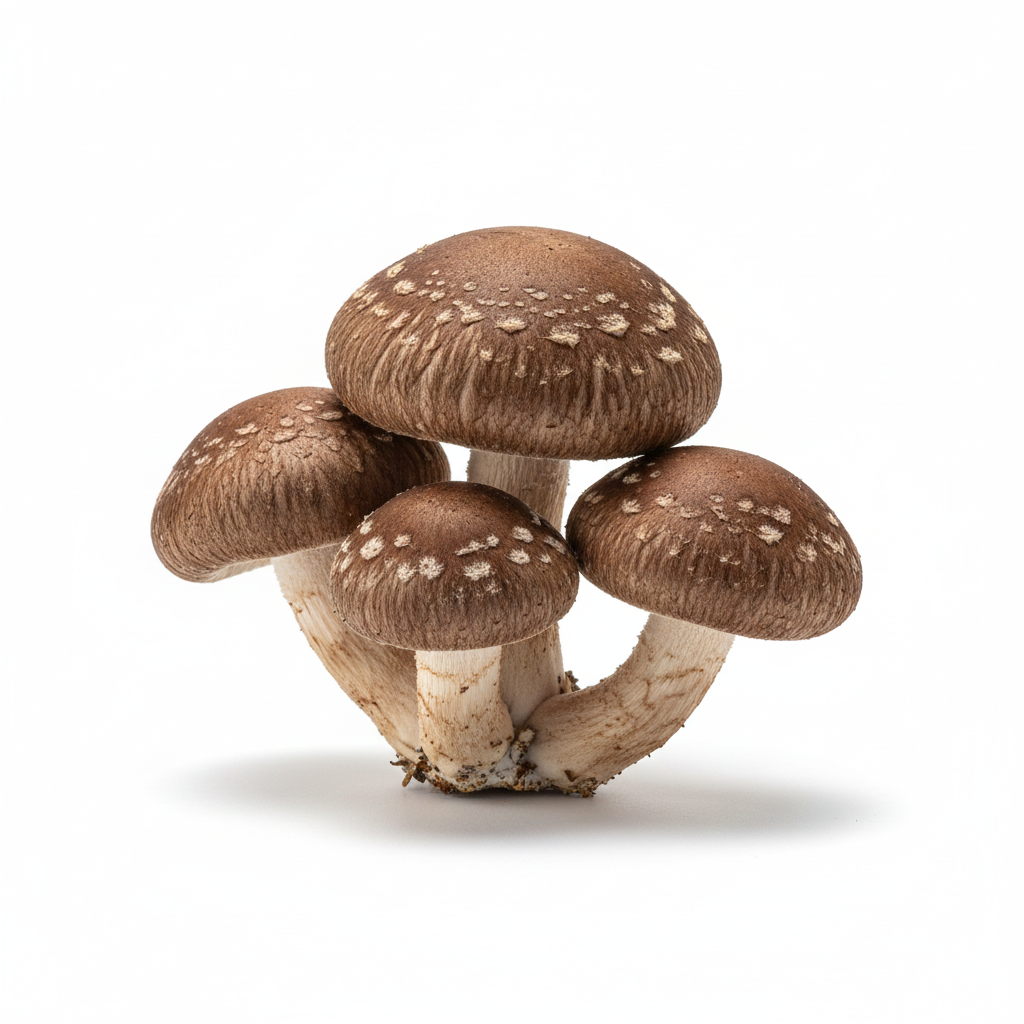
Premium Wine Cap mushroom (Stropharia rugosoannulata) liquid culture from Artisan Mushrooms provides fast, vigorous mycelium growth for reliable, high-yield cultivation.
Ideal for outdoor beds, wood chips, and wood-based substrates, this gourmet strain produces robust, meaty mushrooms that are perfect for both home gardeners and commercial growers.
Recommended substrates: Supplemented hardwood sawdust, woodchips, logs, or garden beds layered with woodchips
Colonisation temperature: 20°C – 24°C
Pinning temperature: 14°C – 20°C
Pinning humidity: Around 95%
Fruiting temperature: 18°C – 24°C
Fruiting humidity: 90% – 95%
10 ml liquid culture syringe containing active Wine Cap mycelium (Stropharia rugosoannulata)
Sterile alcohol wipe
18G sterile needle for easy injection into your chosen substrate or mushroom grow kit
All components sealed together in a secure zip-lock bag for clean, safe handling
Wine Cap liquid culture is a nutrient-rich, sterilised broth made from distilled water blended with light malt extract, dextrose, and honey, formulated to nourish and expand the mycelium.
The actively growing mycelium acts like a mushroom “seed,” allowing you to inoculate woodchip beds, logs, sawdust blocks, or prepared grow kits for rapid colonisation and abundant outdoor harvests.
For best results, use your Wine Cap liquid culture as soon as possible to ensure maximum freshness, vigour, and strong colonisation.
If you cannot use it immediately, store the syringe in the refrigerator for up to 3 months; each batch is prepared fresh to order in a controlled lab environment under a flow hood and is routinely tested on agar and grain to guarantee clean, high-quality cultures and professional packaging.
Growing Wine Cap mushrooms (Stropharia rugosoannulata), often called "Garden Giants," is one of the easiest and most rewarding projects for a gardener. They are vigorous, combat weeds, build healthy soil, and yield delicious edible mushrooms.
Here is a step-by-step description of how to plant Wine Cap in a woodchip bed.
Best Time to Plant: Spring (after the last hard frost) is ideal for a harvest in the fall. You can also plant in early autumn for a harvest the following spring.
The Spawn: You will need Wine Cap sawdust spawn (preferred for beds) or peg spawn.
The Woodchips: Sourcing the right chips is crucial.
Best: Hardwood chips (oak, maple, beech, birch).
Avoid: Cedar, redwood, or cypress (they contain natural fungicides). Pine/softwood should only be used if mixed in small quantities (less than 20%).
Freshness: Fresh chips are great, but chips aged for 1-2 months are even better. Avoid old, dark, composted chips.
Wine Caps mimic the forest floor environment. Look for a location that is:
Shady to Partial Shade: Direct, baking sun will dry out the bed. Spots under trees, large bushes, or on the north side of a building are perfect.
Accessible: You will need to water it, so keep it within reach of a hose.
Soil Contact: The bed needs direct contact with the earth to draw up moisture and beneficial microbes.
Think of this process like building a lasagna. You want a bed that is roughly 4–8 inches deep.
Step 1: Clear and Case. Clear the ground of grass and weeds. Lay down unprinted cardboard over the soil. This suppresses weeds and holds moisture. Soak the cardboard thoroughly with water.
Step 2: Base Layer. Spread a layer of woodchips about 1.5 – 2 inches thick over the cardboard. Water this layer until it is damp.
Step 3: Inoculate. Break up your sawdust spawn and sprinkle it evenly over the woodchips by hand. You want good coverage—don't be stingy! Use about half of your bag for this layer.
Step 4: Middle Layer. Add another 2 inches of woodchips on top of the spawn. Water this layer thoroughly.
Step 5: Second Inoculation. Sprinkle the remaining sawdust spawn over this new layer of chips.
Step 6: The Cap (Top Layer). Cover the spawn with a final layer of woodchips, about 2 inches thick. This protects the spawn from the sun and drying wind.
Watering: Immediately after building the bed, water it deeply. The mycelium (mushroom roots) needs high humidity to jump off the spawn and eat the woodchips.
The Moisture Test: For the first few weeks, check the bed regularly. Dig down an inch with your finger; the chips should feel damp, like a wrung-out sponge, but not swimming in water. If it’s dry, water it.
Patience: It usually takes 4 to 6 months for the mycelium to fully colonize the bed. You will see white, thread-like webbing turning the woodchips into a solid block.
The Flush: After a heavy rain or temperature drop, mushrooms will pop up rapidly. They have burgundy-red caps and dark gills.
Harvesting: Pick them when the cap is still curled (the "button" stage) or just as the veil breaks. Twist and pull from the base.
Feeding the Bed: Every year, add a fresh layer of woodchips (about 1-2 inches) to the top of the bed to give the colony new food. A well-maintained bed can last for years.