

How To Grow Golden Oyster Mushrooms: Complete Growing Guide
How To Grow Golden Oyster Mushrooms
Golden Oyster mushrooms (Pleurotus citrinopileatus) are vigorous, colourful and well suited to home cultivation. Their bright yellow clusters grow quickly when the culture, substrate, humidity and fresh air are right.
For most beginners, the easiest complete route is to pair Golden Oyster liquid culture with an Artisan Mushrooms all-in-one hardwood grow bag. The bag contains a lower grain layer and an upper hardwood and wheat-bran substrate, so both stages can happen inside the same sealed bag.
The easiest way to grow Golden Oyster mushrooms
All-in-one hardwood grow bag
Inject your Golden Oyster liquid culture through the self-healing port and aim it into the lower grain layer.
Let healthy white mycelium establish through the grain first. Once the grain is strongly colonised, break it up through the sealed plastic and mix it throughout the hardwood and wheat-bran substrate above.
Allow the whole block to colonise before making a small side fruiting opening. This avoids a separate sterile grain-to-substrate transfer.
Separate grain and hardwood
Inoculate a sterilised wheat grain bag with Golden Oyster liquid culture.
Once the grain is fully colonised, use it as spawn and mix it through a separate hardwood and wheat-bran substrate.
This method gives more flexibility for larger grows but adds another handling stage.
What are Golden Oyster mushrooms?
Golden Oyster is a warm-weather Oyster mushroom known for vivid yellow caps, pale stems and dense clustered growth. Like other Oyster mushrooms, it digests lignin and cellulose and can be cultivated on correctly prepared hardwood or straw-based substrates.
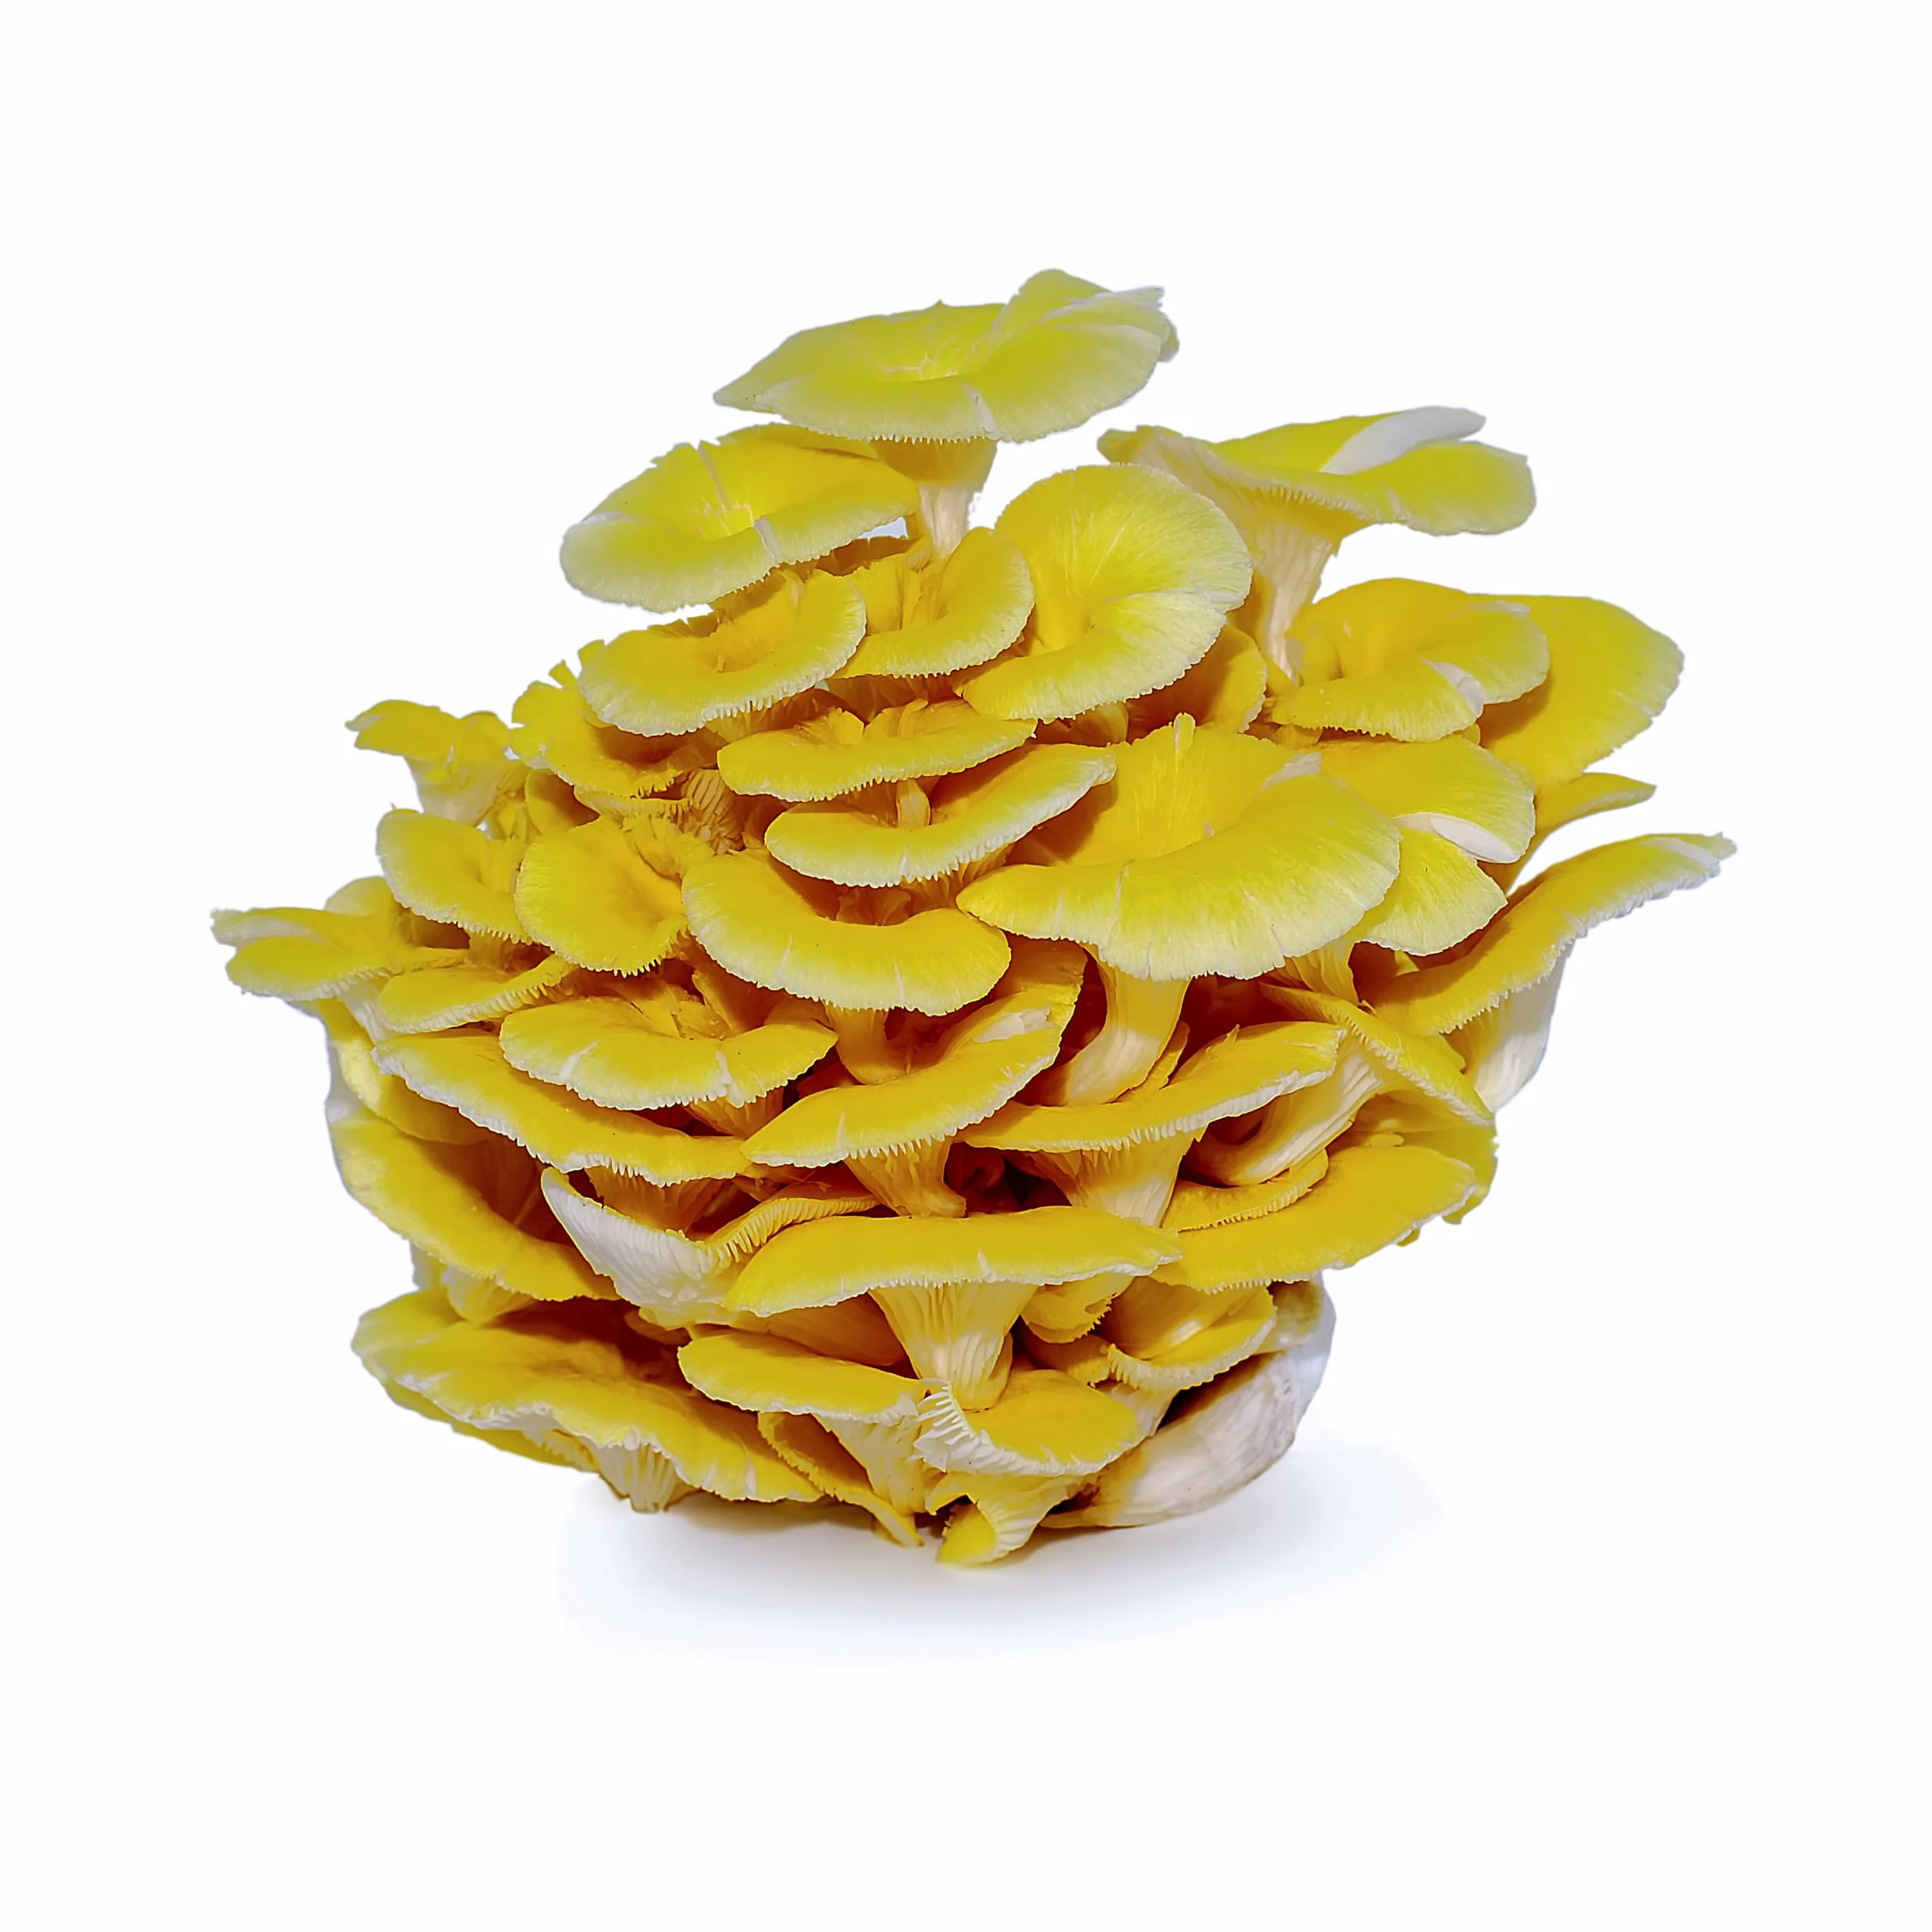
Healthy Golden Oyster mushrooms form bright layered clusters when humidity and fresh-air exchange are well balanced.
Fast coloniser
Golden Oyster mycelium is usually vigorous when given healthy culture, clean grain and stable conditions.
Warm-weather Oyster
It generally tolerates warmer fruiting conditions than cool-weather Oyster varieties.
Fresh air matters
Good fresh-air exchange is essential for broad caps, shorter stems and well formed clusters.
What you'll need
- Golden Oyster liquid culture
- All-in-one hardwood grow bag
- Fresh sterile needle
- Alcohol wipe or 70% isopropyl alcohol
- Clean hands or nitrile gloves
- Clean inoculation area
- Stable colonisation space
- Humid fruiting area with plenty of fresh air
Why the grain layer comes first
The ready-to-inoculate hardwood grow bag contains two useful growing stages in one sealed container. The lighter grain layer sits at the bottom and the larger hardwood and wheat-bran substrate sits above it.
Liquid culture should be directed into the grain layer. Grain gives the mycelium a nutritious starting point and lets you see healthy growth clearly. Once that grain is colonised, it can be broken apart and mixed through the hardwood to create many inoculation points across the final fruiting block.
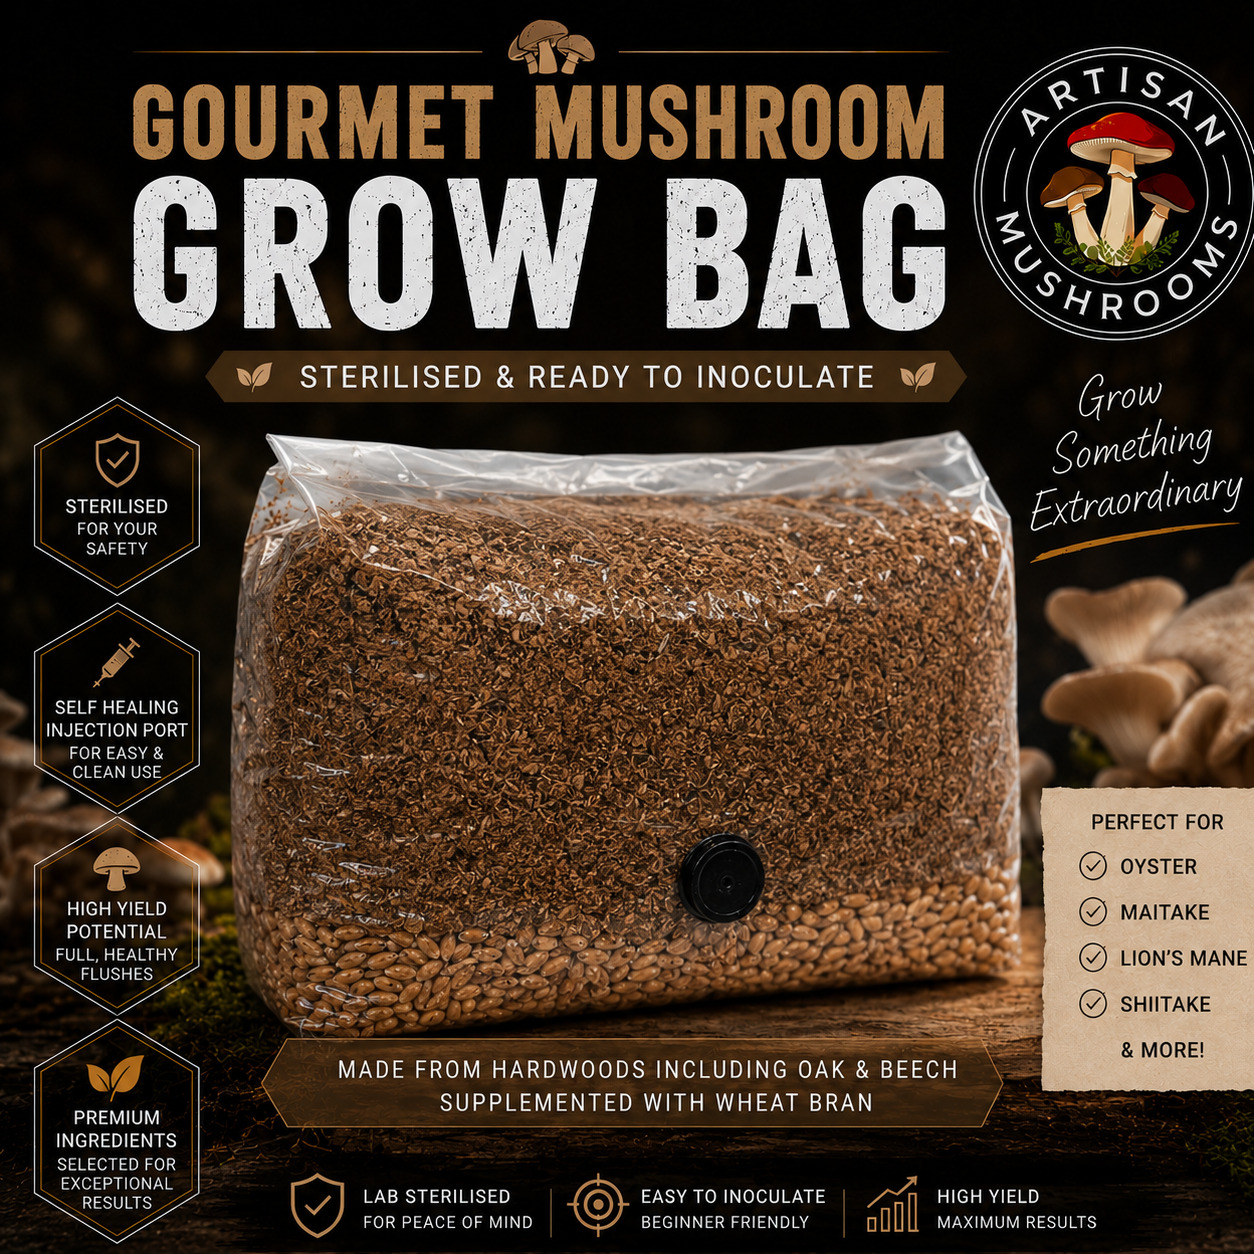
Inoculate the lower grain layer first. After strong grain colonisation, mix the colonised grain through the hardwood substrate while keeping the bag sealed.
How to grow Golden Oyster mushrooms in an all-in-one bag
Prepare a clean work area
Close windows, reduce unnecessary air movement, clean the work surface and wash your hands. Keep the grow bag sealed throughout inoculation.
Wipe the self-healing injection port with alcohol and allow it to air dry before inserting the needle.
Prepare the liquid culture
Gently but thoroughly shake or rotate the Golden Oyster liquid culture syringe so visible mycelium is distributed through the liquid.
Attach a fresh sterile needle without touching the needle shaft or tip.
Inject the lower grain layer
Insert the needle through the centre of the self-healing port and direct it towards the grain at the bottom of the bag.
For a typical 2 kg all-in-one bag, approximately 3 to 5 ml is a sensible starting amount. You do not need to empty the full 10 ml syringe into one bag.
Let the grain establish
Store the bag upright in a clean location away from direct sunlight, radiators and large temperature swings. The filter patch should remain dry and unobstructed.
Healthy Golden Oyster mycelium should begin as white growth spreading across individual grains. Let the grain build a strong colony before disturbing it.
Break and redistribute the grain
Once roughly 20 to 30% of the lower grain layer shows healthy mycelium, gently break up the colonised areas and redistribute them through the grain section only.
Leave the bag sealed and let the mycelium recover and continue colonising the grain.
Mix the colonised grain through the hardwood
Once the lower grain layer is mostly or fully colonised, break the grain apart through the plastic and mix it evenly throughout the upper hardwood and wheat-bran substrate.
Reform the contents into a compact block after mixing. The colonised grains now act as many active inoculation points throughout the hardwood.
Allow the full block to colonise
Return the sealed bag to stable colonisation conditions and allow the mycelium to spread throughout the whole hardwood block.
Wait until the block looks fully colonised and feels firm before creating a fruiting opening.
Create a side fruiting opening
Golden Oyster mushrooms naturally form clustered shelves, so a controlled side opening works well. Make a small X-shaped cut or short slit in the plastic against a firm, fully colonised part of the block.
Do not remove the entire plastic bag. Keeping most of the block covered helps retain moisture and directs the cluster to one area.
What Golden Oyster mushrooms need to fruit well
Golden Oysters need plenty of fresh air during fruiting. High carbon dioxide commonly produces long stems, small caps and stretched clusters. Maintain humid air but avoid keeping the caps continuously wet.
A digital thermometer and hygrometer can help you monitor the room, but the shape of the mushrooms is also an important guide.
What should Golden Oyster mycelium look like?
Healthy mycelium is usually white and should spread progressively through the grain and then the hardwood. It may begin as fine strands and become denser as colonisation advances.
Early grain growth
White growth develops around inoculation points and begins joining nearby grains.
Colonised grain
The lower grain layer becomes strongly bound together by healthy white mycelium.
Colonised block
After mixing, mycelium spreads through the hardwood until the whole block becomes firm and well established.
When should you harvest Golden Oyster mushrooms?
Harvest the cluster when the caps are broad and well developed but before the edges curl strongly upwards and heavy spore release begins. Young caps are usually at their brightest yellow and can fade slightly as they mature.
Support the cluster near its base and twist it away in one piece, or cut cleanly at the base with a clean knife. Remove loose substrate from the base before cooking or storing.
Can the block fruit again?
A healthy Golden Oyster block can often produce additional flushes. After harvesting, remove leftover stem material and keep the block in suitable fruiting conditions while it recovers.
Later flushes may be smaller because the block has already used part of its available water and nutrition. Do not soak an Artisan Mushrooms all-in-one bag unless the product instructions specifically tell you to do so.
Common Golden Oyster growing problems
Long stems and small caps
This usually points to insufficient fresh-air exchange and elevated carbon dioxide. Increase regular ventilation while protecting the cluster from a strong drying draught.
Pins dry out or stop growing
Humidity may be too low, the fruiting opening may be drying too quickly, or airflow may be too direct. Raise ambient humidity without soaking the pins.
Caps are pale instead of bright yellow
Colour varies with strain, maturity, temperature and light. Judge overall health by growth form, texture and vigour rather than colour alone.
The grain colonised but the hardwood is slow
Check that the colonised grain was mixed evenly through the hardwood and that the bag is being kept at a stable temperature. Give the mycelium time to recover after mixing.
Green, black, pink or unusual growth
Keep the bag sealed and isolate it from healthy projects. Do not open a visibly contaminated bag indoors.
Sour or fermented smell
This can indicate bacterial or yeast contamination. Keep the bag closed and separate it from healthy grows while assessing it.
Golden Oyster growing questions
What is the easiest way to grow Golden Oyster mushrooms?
For most beginners, the easiest route is Golden Oyster liquid culture plus an all-in-one hardwood grow bag. Inject the lower grain layer first, let the grain colonise strongly, then mix it through the hardwood substrate inside the sealed bag.
Where should I inject the liquid culture?
Inject through the self-healing port and aim the culture into the lighter grain layer at the bottom of the bag. Do not aim directly into the upper hardwood layer first.
When should I mix the bag?
First allow visible mycelium to establish through the grain. A gentle break and redistribution can be done around 20 to 30% grain colonisation. Wait until the grain is mostly or fully colonised before mixing it throughout the hardwood substrate.
Can I inject ordinary hardwood bulk substrate with liquid culture?
Not as the standard method. Ordinary hardwood bulk substrate is normally inoculated with fully colonised grain spawn. The all-in-one bag is different because it contains sterile grain and hardwood in one sealed container.
Do Golden Oyster mushrooms need fresh air?
Yes. Fresh-air exchange is especially important for Oyster mushrooms. Too much carbon dioxide commonly causes long stems and undersized caps.
Should Golden Oyster mushrooms fruit from the top or side?
A controlled side opening is usually a good choice for clustered Oyster mushrooms. Make a small X-shaped cut or short slit against a fully colonised part of the block rather than removing the whole bag.
Can Golden Oyster mushrooms grow on straw?
Yes. Correctly pasteurised straw is a suitable alternative substrate for Oyster mushrooms. If using straw, inoculate it with healthy grain spawn rather than treating it like a sealed all-in-one injection bag.
How many flushes can I expect?
More than one flush is often possible from a healthy block. The number and size of later flushes depend on block moisture, substrate nutrition, strain and fruiting conditions.
The simplest culture-to-harvest route
Pair Golden Oyster liquid culture with the all-in-one hardwood grow bag. Inject the lower grain layer, let the grain establish, mix it through the hardwood, wait for full colonisation, then side fruit the block with plenty of humidity and fresh air.