

How to Grow Chestnut Mushrooms: A Step-by-Step Guide
How to Grow Chestnut Mushrooms
Chestnut mushrooms (Pholiota adiposa) are a hardwood-loving gourmet species known for dense clusters of caramel-brown caps, pale decorative scales and a firm, crisp texture. They take a little more patience than many Oyster mushrooms, but they are very manageable at home when the substrate and fruiting conditions are right.
For most home growers, the easiest route is Chestnut liquid culture paired with an Artisan Mushrooms all-in-one hardwood grow bag. The lower grain layer is inoculated first. Once that grain has developed strong mycelial growth, it is mixed through the supplemented hardwood above, allowing the entire fruiting block to colonise without a separate grain-to-substrate transfer.
What are Chestnut mushrooms?
Chestnut Mushroom refers here to Pholiota adiposa, a wood-decaying gourmet species that performs particularly well on hardwood-based substrates.
Distinctive caps
Young mushrooms develop warm golden-brown to chestnut caps with visible surface scales.
Dense clusters
A healthy block can produce tightly packed groups rather than isolated individual mushrooms.
Hardwood-loving
Supplemented hardwood sawdust is an excellent indoor fruiting substrate.
Two good ways to grow Chestnut mushrooms
All-in-one hardwood grow bag
Start with Chestnut liquid culture and a ready-to-inoculate hardwood grow bag.
Inject the liquid culture into the lower grain layer, let that grain establish, then mix the colonised grain through the upper hardwood and wheat-bran substrate.
This is the simplest route because the bag stays sealed during inoculation and colonisation, with no separate grain-to-substrate transfer required.
Separate grain to hardwood
Inoculate a sterilised wheat grain bag with Chestnut liquid culture, allow the grain to colonise, then mix the finished grain spawn into a separate hardwood and wheat-bran substrate.
This gives more flexibility but requires an additional transfer stage.
One sealed bag, two colonisation stages
The all-in-one hardwood bag combines the grain-spawn stage and the hardwood fruiting-substrate stage in one filter-patch bag. That means a beginner can inoculate through the self-healing port, keep the bag closed, and complete the full colonisation process without making sterile transfers in open air.
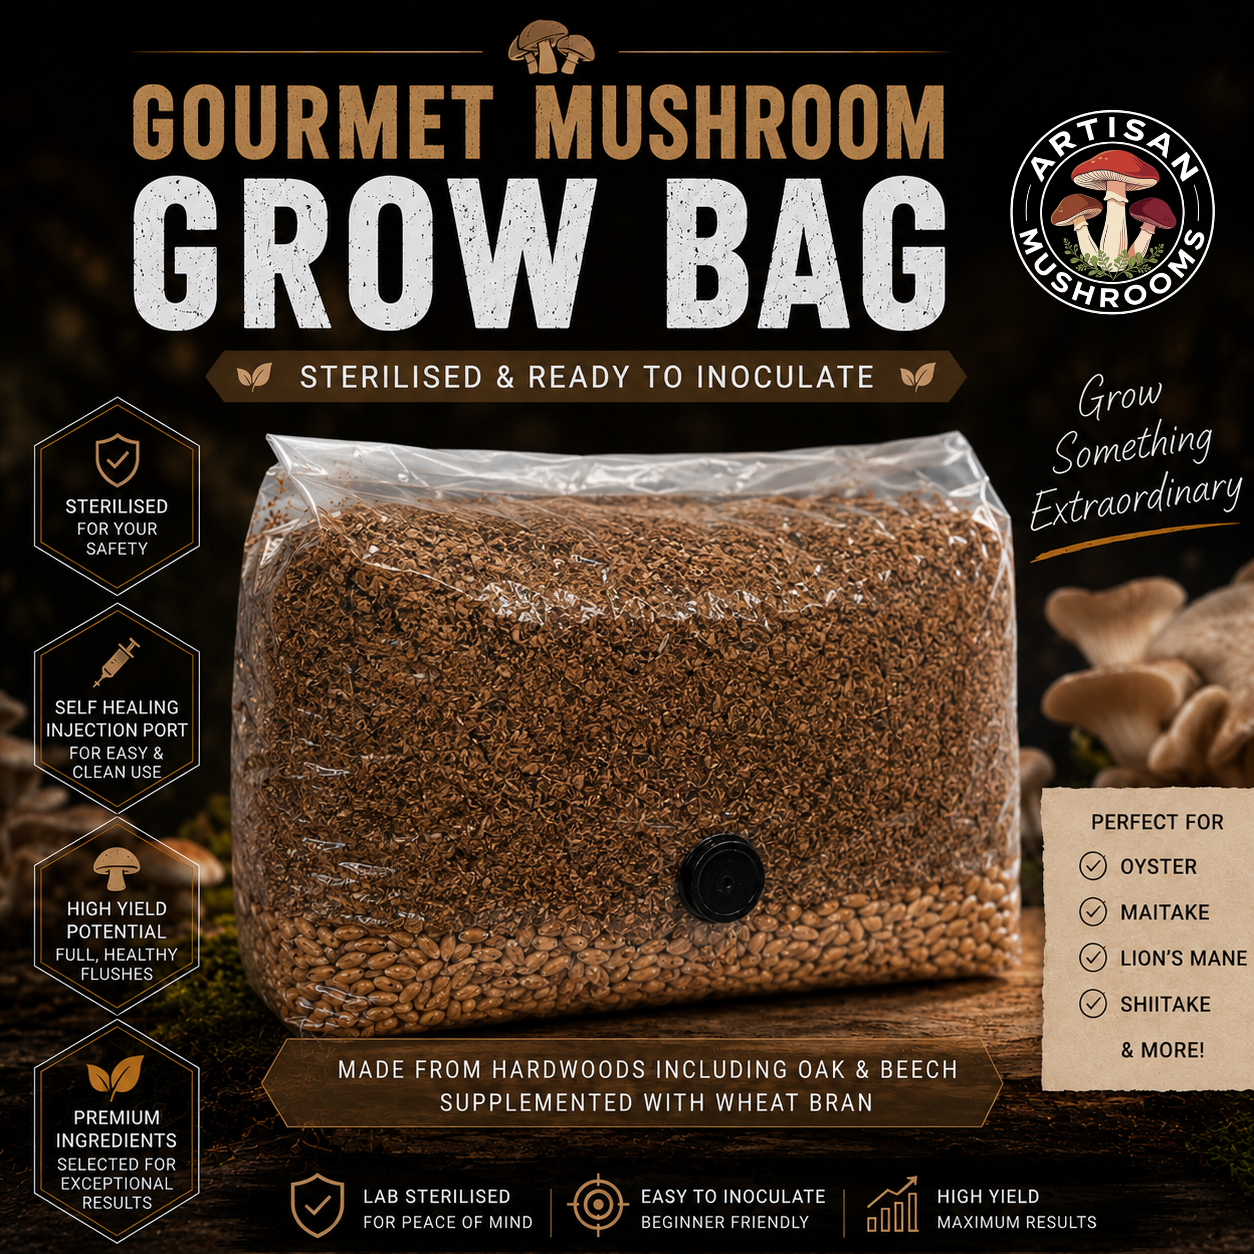
The grain layer at the bottom is inoculated first. Once strongly colonised, it is mixed through the supplemented hardwood above so the full block can colonise.
What you'll need
- Chestnut mushroom liquid culture
- All-in-one hardwood grow bag for the easiest route
- Sterilised wheat grain bag only if using the traditional route
- Hardwood & wheat-bran bulk substrate only if using separate grain spawn
- Sterile needle
- Alcohol wipes or 70% isopropyl alcohol
- Clean inoculation area
- Warm stable colonisation space
- Cooler humid fruiting space
- Fresh-air exchange and gentle indirect light
Start with a clean Chestnut liquid culture
A clean, vigorous culture is the starting point for either method. For the simplest grow, use Chestnut liquid culture directly with the all-in-one hardwood bag.
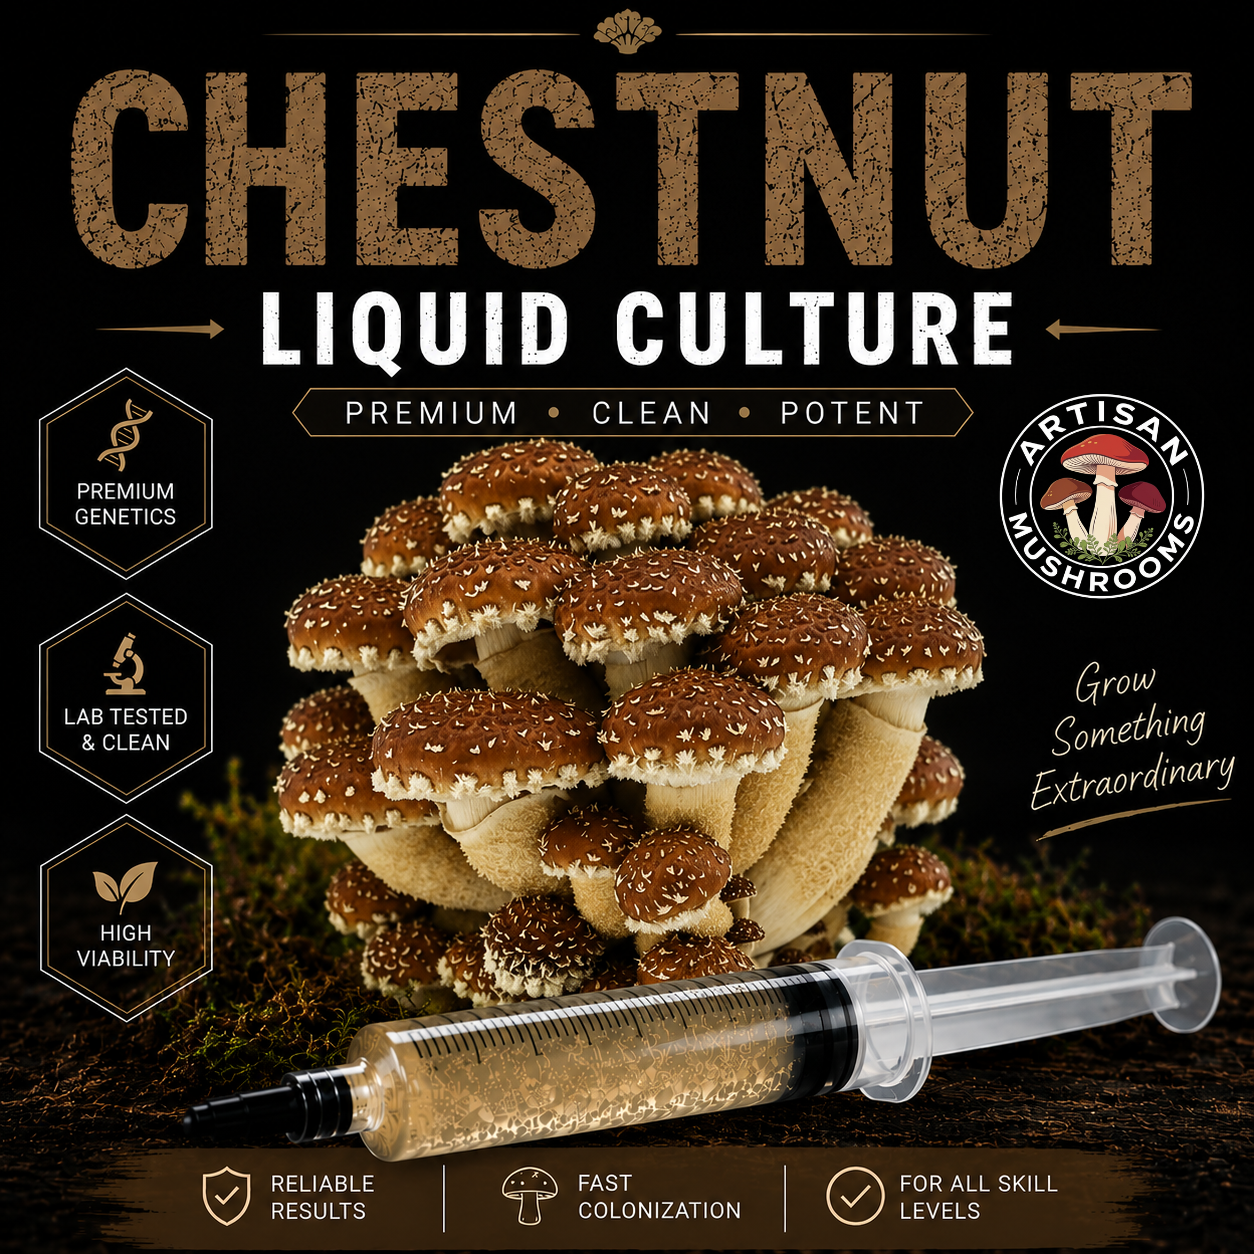
Chestnut liquid culture can be injected through the self-healing port into the lower grain layer of the all-in-one grow bag.
The easiest method: all-in-one hardwood grow bag
Prepare the work area
Wash your hands, clean the work surface and wipe the self-healing injection port with alcohol. Keep air movement low while inoculating.
Inject the lower grain layer
Shake your Chestnut liquid culture gently to distribute the mycelium, attach a sterile needle and inject through the self-healing port.
Direct the culture into the grain layer at the bottom of the bag, rather than trying to inoculate the upper hardwood substrate first. For dosing guidance, see How Much Liquid Culture Should You Use?
Let the grain establish
Keep the bag sealed at roughly 21–25°C, out of direct sunlight, with the filter patch unobstructed.
Once roughly 20–30% of the lower grain section shows healthy white growth, gently break and redistribute the grain section only, then let it recover.
Mix the colonised grain through the hardwood
When the grain section is strongly colonised, break it up and thoroughly mix it through the upper hardwood and wheat-bran substrate.
Reform the contents into a compact block after mixing. The colonised grains now provide many active inoculation points throughout the hardwood.
Wait for complete colonisation
Leave the bag sealed while the Chestnut mycelium spreads through the hardwood. Do not start fruiting just because the outside has turned white; the centre needs to colonise too.
A supplemented hardwood block commonly takes around four to eight weeks or longer depending on temperature, culture vigour and bag conditions.
Let the block consolidate
Chestnut mushrooms benefit from extra maturation time. Once the block appears fully colonised, allow roughly another one to two weeks for the mycelium to strengthen throughout the centre.
Open the bag for fruiting
Once mature, move the block into cooler fruiting conditions. For a straightforward home grow, open the top of the bag and fold the excess plastic down around the block, exposing the top surface while leaving the sides protected.
Keep most of the plastic around the block to conserve moisture rather than completely unwrapping it. Side fruiting can also work, but top fruiting is generally the simplest way to manage clustered Chestnut growth from this type of bag.
Separate grain-spawn route
If you want more control or plan to scale up, you can make grain spawn separately before moving it onto hardwood.
Inoculate sterile grain
Inject Chestnut liquid culture into a sterilised wheat grain bag.
Colonise the grain
Let healthy mycelium establish, redistribute once appropriate, then allow the grain to finish colonising.
Move grain spawn onto hardwood
Mix fully colonised grain spawn through a separate sterilised hardwood and wheat-bran substrate.
Colonise, consolidate and fruit
Let the hardwood block become fully colonised and mature before moving it to cool, humid fruiting conditions.
What a colonised Chestnut block should look like
Healthy Chestnut mycelium is usually white to cream-coloured. It can become dense and cottony, with finer strands and thicker patches binding the hardwood together.
A mature block should feel firm and well bound, without large loose, wet or uncolonised areas.
Give Chestnut mushrooms a cooler environment
Provide gentle indirect daylight or low-intensity artificial light. Avoid placing a fan directly on the mushrooms; the aim is frequent fresh air without drying the pins or caps.
From pins to mature Chestnut clusters
Chestnut pins often begin as tightly packed tan or brown bumps. As they develop, pale stems extend and the caps take on their characteristic warm brown colour and textured surface.
Good fresh-air exchange helps Chestnut mushrooms develop broader caps rather than excessively long stems. Avoid directly spraying young pins and caps; maintain humidity in the surrounding environment instead.
Common Chestnut growing problems
The block is fully white but nothing is pinning
Give it more consolidation time, make sure fruiting temperatures are cool enough, maintain high humidity and provide fresh-air exchange and gentle light.
Long stems and tiny caps
This usually points to elevated carbon dioxide and insufficient fresh air. Increase air exchange without directing a drying fan at the cluster.
The caps are cracking or drying
Humidity may be too low, airflow too strong or the fruiting temperature too warm. Keep conditions stable and avoid direct sunlight.
The caps look slightly sticky
A slightly moist or tacky surface can be normal. Continually soaked, slimy, soft or foul-smelling mushrooms are different and should be treated as a warning sign.
I can see green, black or pink growth
Treat unusual spreading colours or strong sour, fermented or rotten odours as possible contamination. Keep suspect bags sealed while assessing them.
When should you harvest Chestnut mushrooms?
Harvest while the cluster is firm and fresh, when the caps have expanded but remain slightly rounded and the surface scales are still clearly visible.
Remove the cluster close to the base by gently twisting it away or cutting it with a clean knife. Trim off remaining substrate before storing or cooking.
Chestnut mushrooms should be cooked before eating.
Getting another crop
A healthy Chestnut block may fruit more than once. After harvesting, remove remaining mushroom tissue and allow the block to rest for roughly one to two weeks.
Prevent it from drying completely, then return it to cool fruiting conditions with high humidity and regular fresh-air exchange.
Chestnut mushroom growing questions
What is the easiest way to grow Chestnut mushrooms?
For most home growers, use Chestnut liquid culture with an all-in-one hardwood grow bag. Inject the lower grain layer first, let it establish, mix through the hardwood, colonise the full block and then fruit it.
Where should I inject the liquid culture?
Inject through the self-healing port into the lower grain layer, not throughout the hardwood substrate.
Do I need to mix the all-in-one bag?
Yes. Once the grain layer is strongly colonised, mix that colonised grain through the upper hardwood substrate so the complete block can colonise evenly.
What substrate is best for Chestnut mushrooms?
Supplemented hardwood is an excellent choice. Hardwood sawdust or pellets from suitable deciduous species can be supplemented with wheat bran.
What temperature should Chestnut mushrooms colonise at?
Approximately 21–25°C is a useful starting range. Avoid prolonged excessive heat.
What temperature should Chestnut mushrooms fruit at?
Approximately 15–21°C is a useful cool-to-moderate fruiting range.
How humid should the fruiting area be?
Around 90–95% RH is useful during pin formation, reducing to roughly 85–92% as the mushrooms develop while maintaining fresh air.
Can I use the traditional grain-spawn route instead?
Yes. Inoculate sterile wheat grain, allow it to colonise, then mix the finished grain spawn into sterilised hardwood and wheat-bran substrate.
The simplest culture-to-harvest route
Pair Chestnut liquid culture with the all-in-one hardwood grow bag for the simplest home-growing route. Inoculate the lower grain layer, let it establish, mix it through the hardwood, allow the complete block to colonise and consolidate, then move it into cooler fruiting conditions.