

How to Grow Phoenix Oyster Mushrooms
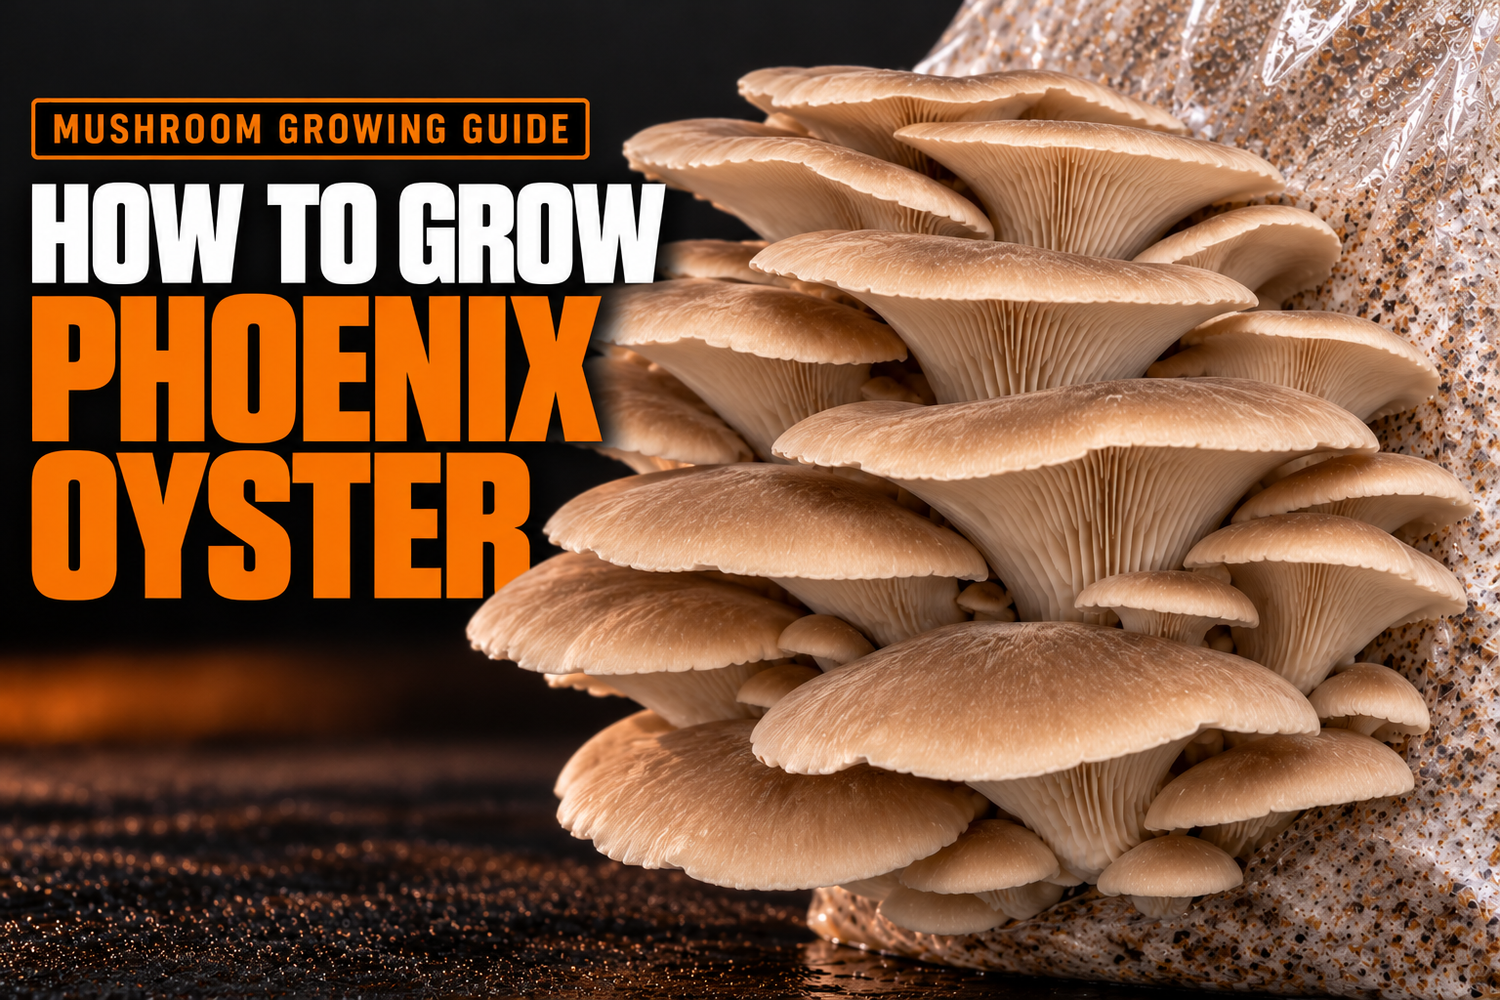
Phoenix Oyster is a vigorous wood-decomposing Oyster mushroom well suited to indoor cultivation on supplemented hardwood or properly prepared straw. This guide takes you from an Artisan Mushrooms liquid culture and ready-to-inoculate hardwood grow bag through grain colonisation, hardwood colonisation, fruiting and harvest.
Inject the lower grain layer first
The Artisan Mushrooms ready-to-inoculate hardwood grow bag contains two useful parts:
- a lower sterilised grain layer, where the liquid culture is first established;
- an upper supplemented hardwood and wheat-bran layer, which becomes the main fruiting substrate after the grain has colonised.
Inject your Phoenix Oyster liquid culture through the black self-healing injection port into the lower grain layer.
Do not inject directly into the upper hardwood and do not mix the whole bag immediately after inoculation.
Phoenix Oyster at a Glance
Liquid culture → grain → hardwood → fruiting
With our all-in-one hardwood bag, these stages happen inside the same sealed bag until it is time to fruit.
What Is Pleurotus pulmonarius?
Phoenix Oyster is a member of the Oyster mushroom group and is closely associated with the decomposition of woody plant material.
Cultivated fruiting bodies usually grow in overlapping clusters with pale cream, off-white or light tan caps and pale gills that extend down the stem.
It is often described as a relatively warm-tolerant Oyster compared with many cool-weather Pleurotus ostreatus strains. However, fruiting temperature is strongly affected by genetics. Different P. pulmonarius strains have been cultivated successfully across quite different temperature ranges.
For home cultivation, approximately 16–22°C is a useful starting range. If your particular culture performs well a little above this, that is not necessarily abnormal.
Watch the mushrooms as well as the thermometer
Temperature ranges are practical starting points rather than hard biological limits. Mushroom shape, pinning behaviour, growth speed, fresh-air exchange and humidity tell you whether your actual environment is working.
Hardwood Works Very Well
Phoenix Oyster is a lignocellulose-decomposing mushroom and can use a range of plant-based substrates.
Two established choices are:
The Artisan Mushrooms hardwood grow bag combines sterilised grain with supplemented hardwood and wheat bran, giving the culture an initial nutrient-rich grain stage followed by a larger woody fruiting substrate.
If you are growing on straw separately, the usual route is to make healthy grain spawn first and distribute that spawn throughout properly prepared straw.
For the All-in-One Hardwood Method
Do not sterilise the grow bag again
The bag arrives hydrated, sterilised and sealed. Your job is to introduce the culture cleanly and keep the bag closed while colonisation takes place.
Clean Technique Matters Most at the Beginning
The grain inside the bag is highly nutritious. That is excellent for mushroom mycelium, but it also means contaminants can use it if they are accidentally introduced.
Before inoculation:
- wash and dry your hands;
- clean the work surface;
- avoid working beside an open window;
- turn off fans blowing across the work area;
- keep the needle sterile;
- avoid touching the needle to your hands or worktop.
You do not need a professional cleanroom to inject a sealed grow bag, but calm, clean handling improves your chances considerably.
Redistribute the Mycelium
Phoenix Oyster mycelium may form visible strands or clumps inside the liquid culture syringe.
Gently shake, roll or flick the syringe until the culture is reasonably distributed throughout the liquid.
You do not need to completely destroy every visible piece of mycelium. The objective is simply to distribute the culture more evenly before inoculation.
Inject the Lower Grain Layer
Locate the black injection port
The port provides a clean entry point without opening the grow bag.
Clean the port
Wipe the injection port thoroughly with the supplied alcohol wipe and allow the surface to dry.
Attach the sterile needle
Avoid touching the needle itself.
Insert the needle through the port
Angle the needle so the liquid is delivered into the lower grain rather than the upper hardwood.
Inject the culture
Introduce the liquid culture into the grain, preferably spreading it across more than one nearby area rather than depositing everything in one tiny spot.
Withdraw the needle
The self-healing port closes after the needle is removed.
Leave the Bag Sealed
Move the inoculated bag to a stable indoor location away from direct sunlight.
A practical colonisation temperature is roughly 22–26°C.
Avoid direct contact with radiators, heaters or heat mats. The centre of an actively colonising substrate can become warmer than the room around it.
Do not open the bag.
The filter patch provides passive gas exchange while keeping the substrate physically separated from the surrounding environment.
You do not need to keep your room at 90% humidity
The substrate is sealed inside the bag and already contains its required moisture.
High ambient humidity becomes important when mushrooms are exposed during fruiting, not while the sealed block is colonising.
Healthy Phoenix Oyster Mycelium
Healthy mycelium normally begins as white growth spreading from inoculation points through nearby grain.
The exact time before visible growth appears varies with:
- culture vigour;
- temperature;
- how the culture was distributed;
- grain condition;
- how recently the culture was prepared.
Do not discard a clean-looking bag simply because another grower's bag developed faster.
Redistribute the Colonised Grain
Once the grain shows a substantial amount of healthy established mycelium, gently break up and redistribute the colonised grain.
There is no need to wait for a specific calendar day.
A sensible visual trigger is when the culture is clearly established through a meaningful portion of the grain and looks vigorous enough to recover from mixing.
The purpose of this first mix is to:
- spread colonised kernels through the remaining grain;
- create many new growth points;
- speed up even grain colonisation.
At this stage, keep the grain mainly within the grain section rather than aggressively mixing the entire hardwood block.
The bag may suddenly look less colonised
That is normal. You have physically separated visible patches of mycelium and redistributed them.
Healthy Phoenix Oyster mycelium should recover and resume growth.
Let the Grain Rebuild
After the first mix, leave the bag undisturbed while the mycelium recovers.
The redistributed kernels become individual inoculation points and the grain should progressively reconnect with healthy white growth.
Wait for strong recovery rather than immediately performing the second mix.
Create the Fruiting Block
Once the grain is strongly colonised and has recovered from the first mix, it can be distributed through the upper hardwood substrate.
Break up the colonised grain
Gently separate compacted grain without damaging the bag.
Loosen the hardwood
Gently work the upper substrate so the grain can be distributed through it.
Mix thoroughly
Move colonised grain throughout the hardwood instead of leaving it concentrated at the bottom.
Reshape the block
Form the substrate back into a compact block while keeping the filter patch unobstructed.
Let the Mycelium Take Over the Hardwood
After the final mix, leave the bag sealed.
The many pieces of colonised grain now act as growth points throughout the hardwood.
The substrate should become increasingly bound together by white mycelium.
Wait until the block is thoroughly and evenly colonised before introducing fruiting conditions.
Healthy Growth vs Contamination
A healthy Phoenix Oyster block normally becomes dominated by white mycelium.
Small amounts of clear or yellowish fungal metabolite can sometimes appear during colonisation and do not automatically mean the block is contaminated.
More concerning signs include:
- spreading green sporulation;
- black mould-like growth;
- bright pink or unusual coloured colonies;
- slimy uncolonised grain;
- rapidly expanding areas that look distinctly different from the mushroom mycelium.
If contamination is suspected, keep the bag sealed while you assess it. Do not open a heavily moulded bag inside your cultivation area.
Phoenix Oyster Is Best Side-Fruited
Once the hardwood block is fully colonised and healthy, move it to the fruiting area.
For this type of bag, Phoenix Oyster can be fruited through a small controlled opening in the side of the plastic.
Do not remove the entire bag.
The surrounding plastic helps retain moisture inside the substrate and directs fruiting toward the opening.
Cut a Small X
Choose an area where the plastic sits closely against a strongly colonised section of substrate.
Make a small X-shaped cut through the plastic.
The exact dimensions are less important than avoiding an unnecessarily large exposed area.
Leave the plastic flaps in place around the cut.
Give Phoenix Oyster Humidity, Air and Light
| Factor | Practical Home Starting Point |
|---|---|
| Temperature | Approx. 16–22°C |
| Pinning humidity | Approx. 90–95% RH |
| Developing mushrooms | Approx. 85–92% RH |
| Fresh air | High / regular exchange |
| Light | Gentle indirect light |
These are starting ranges, not absolute limits.
Different Pleurotus pulmonarius strains can fruit across different temperature ranges, so mushroom behaviour should always be considered alongside your thermometer and hygrometer.
Humidity cannot compensate for stale air
Oyster mushrooms need substantial fresh-air exchange. A sealed, extremely humid chamber with little ventilation can produce poor morphology even if the humidity reading looks perfect.
One of the Most Important Parts of Oyster Fruiting
Phoenix Oyster produces carbon dioxide as it respires.
If carbon dioxide accumulates around developing clusters, mushrooms can become increasingly stem-heavy with reduced cap development.
Healthy Phoenix Oyster fruiting should generally produce recognisable broad Oyster-shaped caps rather than extremely long stems supporting tiny caps.
If stems are becoming disproportionately long:
- increase fresh-air exchange;
- check that your chamber is not almost airtight;
- avoid pointing a powerful fan directly at the mushrooms;
- maintain humidity as ventilation increases.
Humid Air, Not Constantly Wet Mushrooms
High humidity is especially useful while pins are forming because the tiny developing fruiting bodies have little tolerance for drying.
As the cluster grows, good humidity should be balanced with fresh air.
If you use a spray bottle, use it to help maintain the surrounding environment rather than repeatedly soaking the mushroom itself.
Do not leave developing caps constantly dripping wet.
Phoenix Oyster Does Not Need Darkness to Fruit
Provide gentle indirect daylight or suitable artificial light during fruiting.
The mushrooms do not need intense horticultural grow lights.
Avoid strong direct sunlight, which can heat and dry the block.
Watch for Small Clusters at the Cut
The first obvious fruiting structures usually appear as small, compact groups of pins around the opening.
This stage is particularly sensitive to drying.
Once pinning begins:
- maintain high humidity;
- keep fresh air moving through the fruiting environment;
- avoid handling the pins;
- avoid blasting them directly with mist or fan airflow.
Phoenix Oyster Can Grow Quickly Once Pins Form
Small pins can develop into a substantial cluster surprisingly quickly under suitable conditions.
Caps gradually broaden and flatten as they mature.
The cluster should remain firm and fresh rather than becoming dry, cracked or waterlogged.
Harvest Before Heavy Spore Release
A good harvest point is when most caps are well developed but before they become excessively flattened, upturned or begin releasing large amounts of spores.
Harvest the cluster as a unit by gently twisting it away from the block or cutting cleanly at the base.
Remove remaining stem material from the fruiting opening.
The Block May Fruit Again
After harvest, the block still contains fungal mycelium and may retain enough water and nutrients for additional flushes.
Remove loose mushroom tissue from the original opening and allow the block a short recovery period while preventing severe drying.
New pins may develop from the existing opening.
Additional flushes are common with healthy Oyster blocks, although later harvests often become progressively smaller as available resources decline.
What Is Your Phoenix Oyster Telling You?
Long stems and very small caps
The most likely environmental issue is inadequate fresh-air exchange. Increase ventilation gradually while protecting the cluster from drying.
Pins form and then dry out
Check humidity and direct airflow. Young pins are highly sensitive to dry conditions.
Caps are dry or cracking
Humidity may be too low, the chamber may be ventilating too aggressively, or direct airflow may be striking the cluster.
Mushrooms are constantly wet
Reduce direct spraying. Maintain humidity in the surrounding air rather than continuously soaking the fruiting bodies.
The block is fully colonised but will not pin
Check temperature, humidity, fresh-air exchange, light and the size and position of the fruiting opening.
My room is warmer than 22°C
Do not automatically abandon the grow. Phoenix Oyster strains can vary considerably in temperature response. Maintain strong fresh air and humidity and observe how your particular culture performs.
Yellow liquid is appearing in the bag
Small amounts may be fungal metabolites, particularly in a mature or stressed block. Assess the whole bag for unusual colours, uncolonised areas and other contamination signs rather than judging from liquid alone.
Green growth has appeared
Treat spreading green mould as contamination. Keep the bag closed and remove a heavily contaminated block from the indoor growing area.
Phoenix Oyster Growing Questions
Where do I inject Phoenix Oyster liquid culture?
Through the black self-healing injection port into the lower sterilised grain layer of the Artisan Mushrooms hardwood grow bag. Do not inject directly into the upper hardwood substrate.
Should I mix the whole bag immediately after inoculation?
No. Allow the Phoenix Oyster culture to establish through the grain first. Redistribute the grain after healthy growth appears, allow it to recover, and then mix the strongly colonised grain through the hardwood.
How warm should the bag be while colonising?
Approximately 22–26°C is a useful practical range for spawn running. Avoid direct heating and excessive temperatures.
What temperature should I use for fruiting?
Approximately 16–22°C is a useful home-growing starting range. Pleurotus pulmonarius strains vary, however, and successful cultivation has been reported across a broader range.
Is Phoenix Oyster a warm-weather Oyster?
It is generally considered more warm-tolerant than many cool-weather Pleurotus ostreatus strains, but individual P. pulmonarius cultures can still differ considerably. Treat the label as a useful general description rather than a guarantee that every strain prefers the same temperature.
Do I need 90% humidity while the bag is colonising?
No. The substrate is sealed inside the bag and retains its own moisture. High environmental humidity becomes important when the mushrooms are exposed for fruiting.
Should I remove the entire plastic bag for fruiting?
No. A small side opening is usually preferable. Keeping most of the plastic around the block helps retain substrate moisture and directs the cluster toward one fruiting point.
Can Phoenix Oyster grow on straw?
Yes. Properly prepared straw is an established Oyster mushroom substrate. For a separate straw grow, first produce clean grain spawn and distribute the colonised spawn through the prepared straw.
Why are my Phoenix Oysters growing long stems?
Disproportionately long stems with poor cap development commonly indicate excessive carbon dioxide and inadequate fresh-air exchange. Increase ventilation without drying the mushrooms.
How do I know when to harvest?
Harvest when the caps have expanded well but before they become heavily upturned or begin producing large amounts of spores.
Can I get more than one flush?
Yes. A healthy block may produce multiple flushes. Later flushes are often smaller as water and nutrients are gradually depleted.
Should I mist the mushrooms directly?
Occasional fine moisture is unlikely to ruin the grow, but the better goal is humid surrounding air rather than repeatedly soaking the developing mushrooms.
Everything You Need for Phoenix Oyster
Phoenix Oyster Liquid Culture
Living Pleurotus pulmonarius mycelium in sterile liquid culture, ready for clean inoculation of suitable grain or a ready-to-inoculate grow bag.
View Phoenix Oyster Liquid Culture → Agar CulturePhoenix Oyster Agar Culture
Living Phoenix Oyster mycelium on agar for culture expansion, laboratory work and agar-to-grain cultivation.
View Phoenix Oyster Agar Culture → Simplest Grow-Bag RouteReady-to-Inoculate Hardwood Grow Bag
Sterilised grain and supplemented hardwood in one sealed bag with a self-healing injection port and filter patch.
View Hardwood Grow Bag → Make Your Own SpawnSterilised Wheat Grain
Use Phoenix Oyster liquid culture to produce grain spawn for larger hardwood or straw cultivation projects.
View Sterilised Grain →